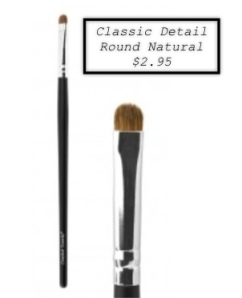
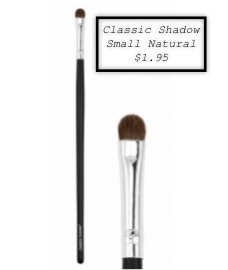
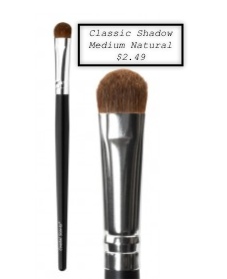
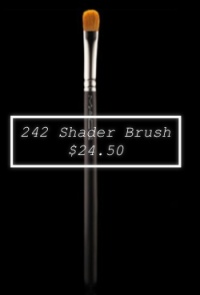
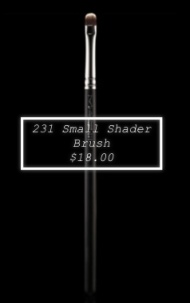
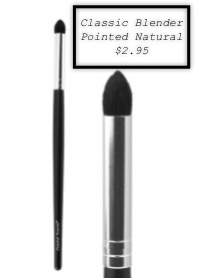
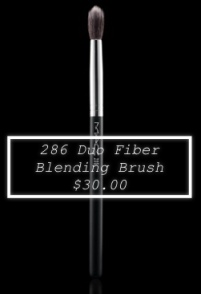
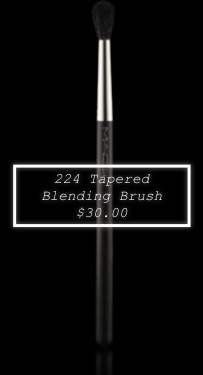
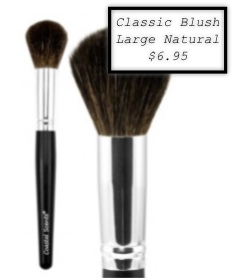
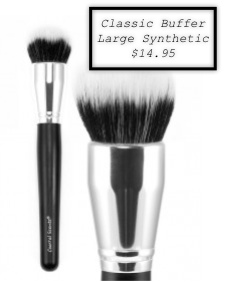
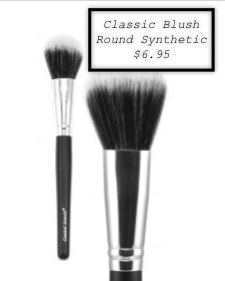
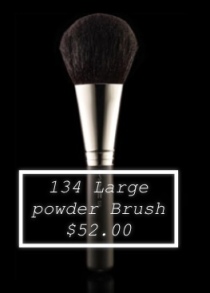
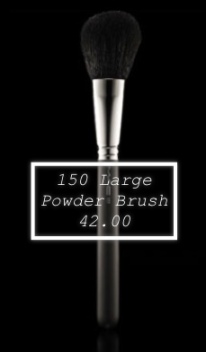
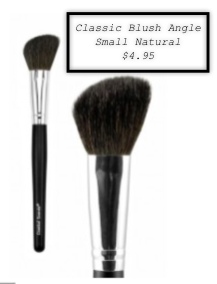
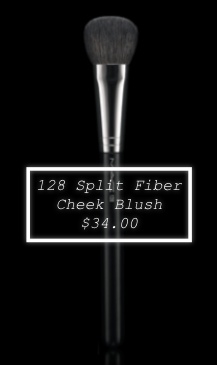
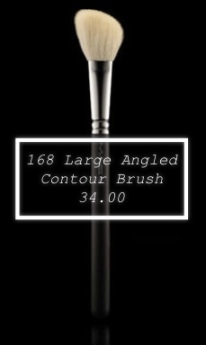
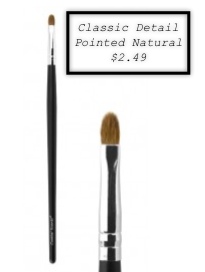
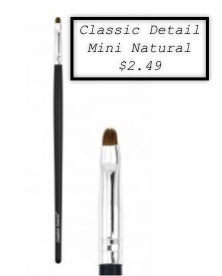
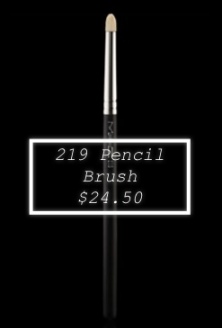
This post is for anyone looking to start their makeup brush collection and doesn’t know where to start. In my opinion, through experience, I’ve found that these five brushes I typically use every day and they would be a great start to someone just getting started with using brushes. Please note that the five brushes apply to the “type” of brush, not the specific brush you should get. There are several brushes that fall under each category and you certainly don’t have to just limit yourself to one per category. For some useful examples and visual aids, I’ve added pictures of makeup brushes from a low end seller, Coastal Scents and a high end seller, MAC Cosmetics. There are of course many other places to get great brushes (some of which I will list below) but these are just some examples. Prices and names/numbers of brushes are included.
1. Flat Shader Brush (For Eyeshadow)
Their purpose is to apply eyeshadow. Simple and easy, right? Flat Brushes are ideal because you can pack on the color or just sweep it across the lid. Of course, they come in different sizes, and the one that’s right for you will depend on your eyelid size or how much coverage you want. The right flat brush could also be used, in some cases, as a concealer brush as well. There’s no rule that you can’t use a brush in any way you want to!
2. Crease (Or Blending) Brush
One way to add dimension and depth to your eyeshadow is to apply a crease color. A tapered blending brush or crease blush is ideal for doing this because its shape allows you to easily maneuver the brush into the crease of your eye (or the hollow space of your eyesocket or the defined line created when you open your eyes.) The more pointed the tip of the brush is, the more defined your crease color will be.
3. Big Powder Brush
A big powder brush is mainly for an all over application of powder to the face whether its translucent powder, a powder foundation or bronzer. Some of these big brushes (like the buffer brush pictured above) can even be used to apply liquid foundation or you can use something called a stippling brush, like this one. But for powder, I like to think that the bigger and fluffier, the better.
4. Blush Brush
Just like with everything else, blush brushes don’t have to be used solely for blush application. They can also be used for contouring or highlighting, especially if their angled. An angled brush makes it easier for you to apply the product to your cheek bones and create that slimming shape to our faces that we seem to love so much!
5. Small Detail Brush
Last, but not least for your makeup brush essentials, is the small detail brush. This can serve a myriad of purposes such as applying highlight to your inner eye (tear ducts), applying lip color, putting eyeshadow on your lower lash line, and even applying eyeliner, for example with a brush like this.
Other things to keep in mind…
Natural Vs. Synthetic Brushes- This is always a hot debate in the beauty world but honestly, in my experience, I’ve had synthetic brushes that were so soft they felt natural and natural brushes that weren’t so hot, so it really depends on the brand. But there are ways to make synthetic brushes softer, for example, using hair conditioner after washing them.
High End Vs. Low End- Another hot debate. There are people who refuse to buy anything other than MAC or other high end retailers for make-up brushes and there are others (like me!) who maybe can’t afford to have dozens of MAC brushes so we settle for the less expensive ones. My advice: Focus on the lower end eyeshadow brushes and smaller brushes and splurge on the bigger ones for the face.
Other places to get brushes:
E.l.f. has really cheap brushes that are pretty decent in terms of quality. And when I say cheap, I mean like $1.00 brushes!
Sigma brushes fall somewhere in between MAC and Coastal Scents and their brush sets are a wonderful investment!
BH Cosmetics is essentially the same as Coastal Scents, but (if I’m not mistaken) has less brushes to choose from.
And finally, an old classic, Sephora, which not only has brushes from best selling brands but also a pretty great collection under their own brand!
Hope you enjoyed this post and I hope it’s helped somebody out there! Thanks for reading!
Related articles
- Coastal Scents Makeup Brushes- The Application Test (mynotsodailyramblings.wordpress.com)
- 3 Simple Ways To Keep Your Makeup Brushes Germ-Free (self.com)
- Makeup brushes worth buying (kofykat.wordpress.com)
- Choose the Right Makeup Brush for the Perfect Look (thestylenet.net)

